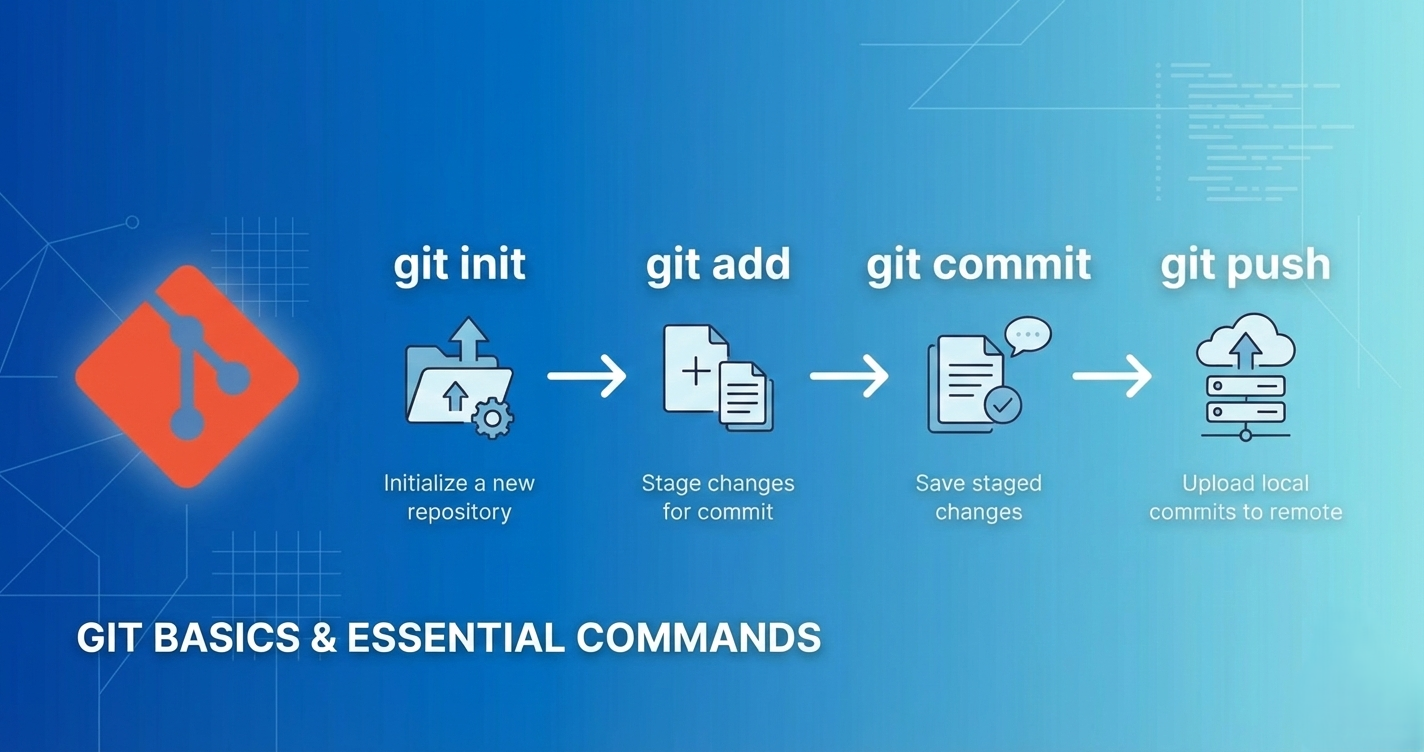
Git : Basics and Essential Commands
Introduction
Git is the 'undo' button that works even after your laptop has been dropped, drenched, or worst of all updated by Windows. It's a distributed version control system that tracks every change in your code, letting you rewind to any point in time, create parallel versions to experiment, and collaborate without chaos.
In this guide, we'll cover Git's core concepts, essential commands, and a practical workflow.
Setting Up Git
Before diving into Git commands, you'll need to install and configure it on your system. This includes setting up your identity and connecting to GitHub.
Follow this comprehensive setup guide from The Odin Project: Setting Up Git
Once your setup is complete, you're ready to start using Git.
Git Basics and Core Terminologies
Understanding Git's key concepts is essential before jumping into commands.
Repository (Repo)
A repository is your project folder that Git tracks. It contains your files plus a hidden .git folder where Git stores all version history, configuration, and metadata. Think of it as your project's time capsule.
Working Directory
The working directory is simply the folder on your computer where you create, edit, and delete files your normal workspace. No magic here, just your regular files.
Staging Area (Index)
The staging area is your shopping cart on Amazon. Your working directory is the entire store. You toss items in, take items out, change quantities then you hit 'Place order' (commit). Nothing is final until you checkout, and you can preview the exact invoice before you pay.
This preview step (using git diff --staged) is crucial it lets you review exactly what you're about to commit. No surprises, no regrets.
Commit
A commit is a snapshot of your staged changes at a specific point in time. Each commit includes:
The changes you made
A descriptive message
Author information and timestamp
A unique identifier (hash)
Commits are your project's breadcrumbs. Remember to "Commit early and often" small, focused commits beat large, mixed ones every time.

Branch
A branch is an independent line of development. The default branch is usually called main. Branches let you break things in peace experiment wildly on a feature branch while your main code stays stable and deployable.
HEAD
HEAD is a pointer showing which commit (or branch) you're currently on—like a "You Are Here" marker in your project's timeline.
Essential Git Commands
Let's explore the fundamental commands you'll use daily. Master these, and you've conquered 90% of Git.
git init - Initialize a Repository
Creates a new Git repository in your current directory.
git init
What happens: Git creates a hidden .git folder containing all version control data your project's complete history, configuration, and branch information. This folder is Git's brain. You rarely need to touch it; Git commands handle everything.
git status - Check Repository Status
Shows the current state of your working directory and staging area.
git status
What it shows:
Current branch
Modified files
Staged files (ready to commit)
Untracked files
Use this constantly—it's your Git GPS. Run it before and after other commands to understand what's happening. When in doubt, git status your way out.
git add - Stage Changes
Adds changes to the staging area, preparing them for commit.
# Stage specific files
git add filename.txt

# Stage all changes
git add .
Pro tip: Be selective. Don't blindly git add . everything. Review changes with git status first, then stage files intentionally. Your future self will thank you during code reviews.
git commit - Save Changes
Creates a snapshot of staged changes with a descriptive message.
# Commit with inline message
git commit -m "Add homepage header and navigation"
Writing good commit messages:
Use present tense: "Add feature" not "Added feature"
Be concise but descriptive
First line under 50 characters
Explain what and why, not how
Bad: "updated stuff", "fix", "changes"
Good: "Fix login button alignment on mobile", "Add user authentication"
Example:
git add index.html
git commit -m "Create basic HTML structure for homepage"
git log - View Commit History
Displays your repository's commit history.
# Basic log
git log

# Compact one-line view (most useful)
git log --oneline

# Beautiful graph view
git log --oneline --graph --all
The --oneline flag is your friend—it shows commit history without overwhelming you with details.
Example output:
a3f4b2c Add navigation menu to homepage
8d7e1a9 Initial commit with HTML structure
git diff - View Changes
Shows differences between various states in your repository.
# Show unstaged changes
git diff

# Show staged changes (preview before commit)
git diff --staged
Always run git diff --staged before committing. It's your safety check preview exactly what you're about to save. Catches embarrassing mistakes before they become permanent history.
Other Useful Commands
git checkout - Older syntax for switching branches (still widely used)
git restore - Discard changes in working directory
git restore filename.txt # Undo uncommitted changes
git rm - Remove files from Git tracking
git rm filename.txt
git blame - See who last modified each line (for investigation, not actual blaming!)
git blame filename.txt
A Basic Git Workflow
Here's a practical workflow for using Git in your daily development.
Starting a New Project
# Create and initialize
mkdir my-website
cd my-website
git init

# Create files
echo "<!DOCTYPE html><html><body><h1>Welcome</h1></body></html>" > index.html

# Check status
git status

# Stage and commit
git add index.html
git commit -m "Initial commit: Add HTML structure"
The 4-Step Git Waltz
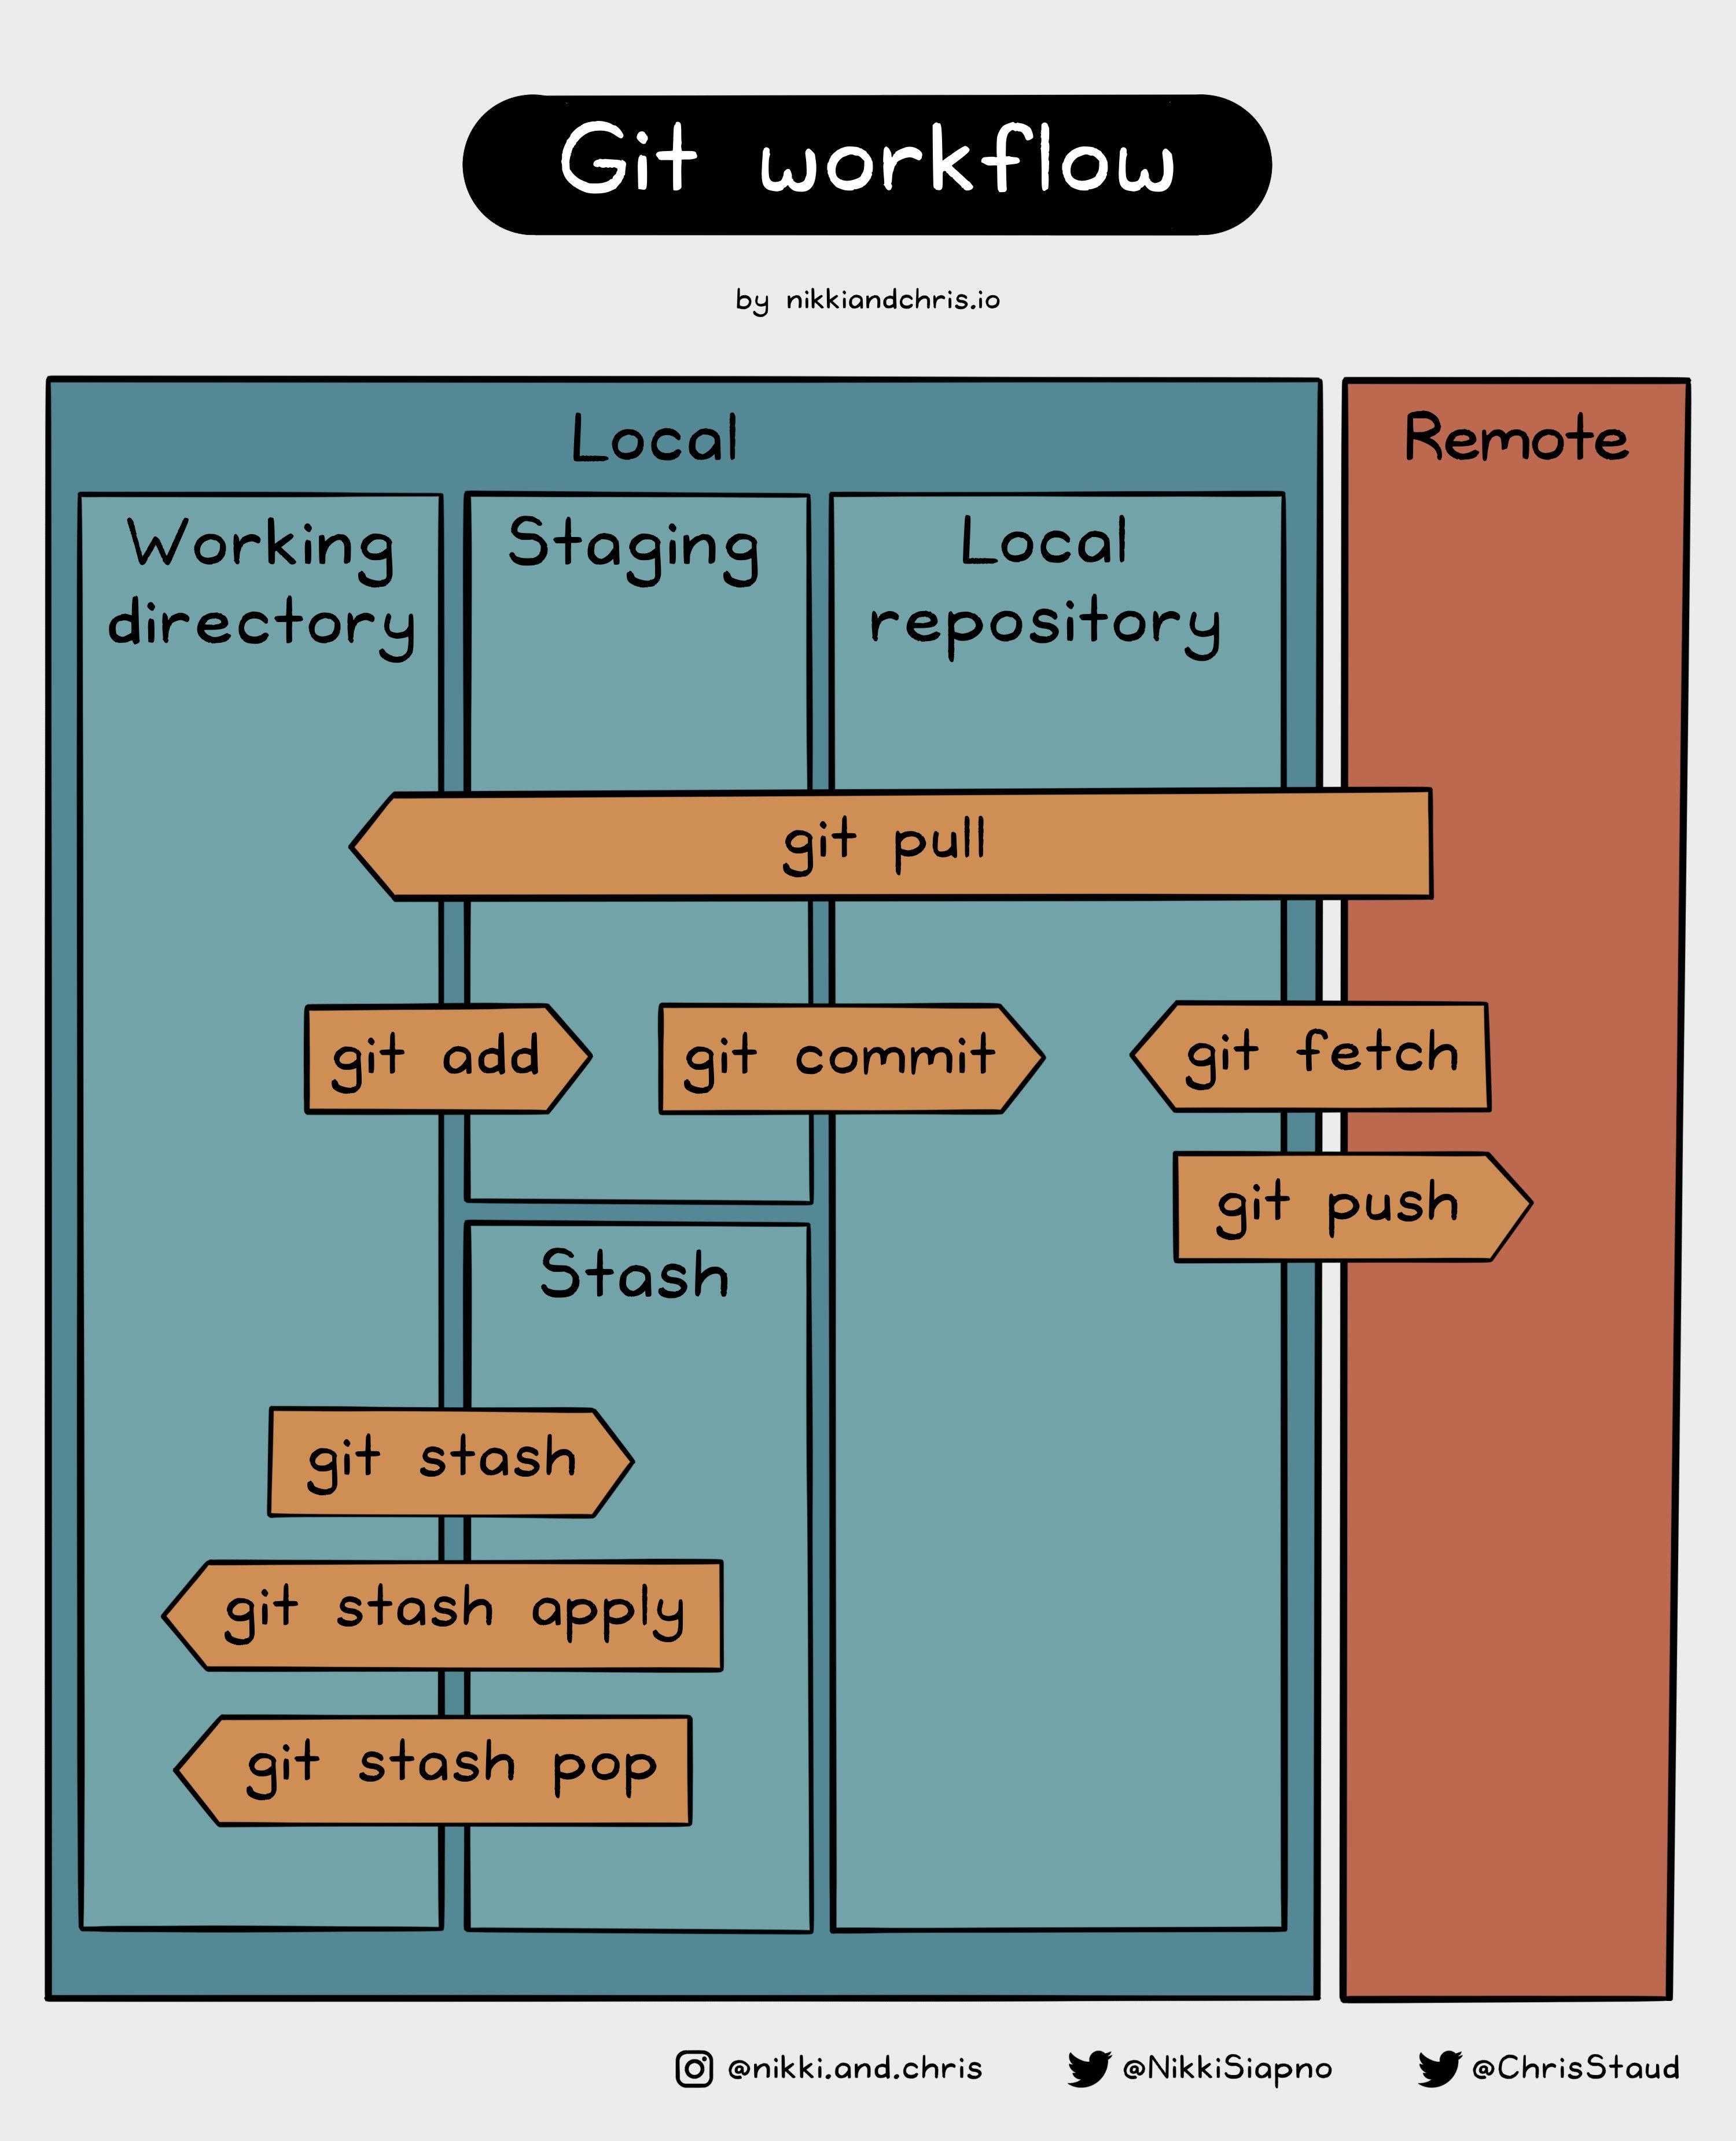
Status ▶ Diff ▶ Add ▶ Commit – DO it every 15 minutes and you'll never lose work again.
# 1. STATUS - Check what changed
git status

# 2. DIFF - Review your changes
git diff

# 3. ADD - Stage what you want to save
git add filename.txt

# (Optional) Preview staged changes
git diff --staged

# 4. COMMIT - Make it permanent
git commit -m "Descriptive message about changes"
Key Workflow Principles
The mantra: Status ▶ Diff ▶ Add ▶ Commit
Best practices:
Check
git statusfrequently make it your reflexPreview changes with
git diff --stagedbefore committingWrite clear, descriptive commit messages
Commit small, logical changes frequently
Use branches for new features or experiments
When in doubt, commit…! you can always undo, but you can't recover uncommitted work
Conclusion
You've now learned the fundamentals of Git the essential tool for modern software development. You understand core concepts like repositories, commits, staging, and branches, plus the key commands to manage your projects effectively.
Remember two mantras:
"Commit early and often." Small, frequent commits create a clear project history and make it easier to track down issues or undo mistakes.
"Status ▶ Diff ▶ Add ▶ Commit" – Your four-step dance to Git mastery. Make it a habit, and version control becomes second nature.
Helpful Resources
Git Cheat Sheets:
Official Git Cheat Sheet - Quick reference from Git's official documentation
GitHub Git Cheat Sheet - Comprehensive PDF guide from GitHub Education
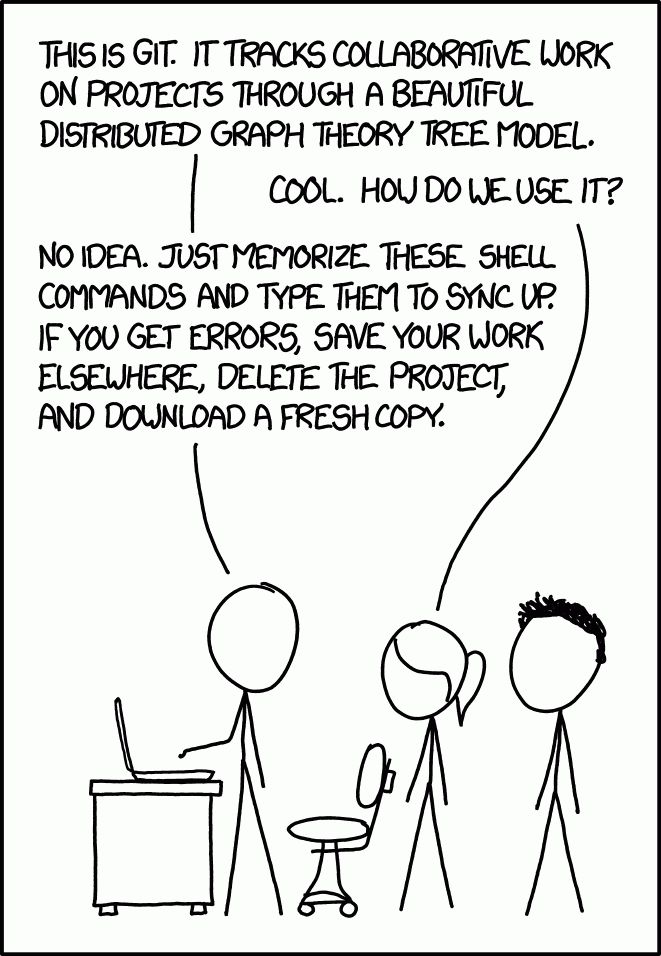
At Last I also want to add this classic xkcd one